
Leave a slice of bread in a damp, warm corner for a few days and something grows on it: gray-white fluff with tiny black dots. What is it? Where did it come from? Is it alive? You could guess. A scientist doesn’t stop at guessing. She looks closely, tests her guesses, researches what nobody has answered yet, and asks many people when the answer lies with them.
Those four ways of finding out are what this unit is about: observation, testing, research and survey. Before any of them, one more skill: staying safe, because a laboratory has flames, glass and chemicals, and a careless moment can hurt you or spoil your results.
Ways of learning science
Scientists learn about the world by doing things: observing, testing, doing surveys, carrying out project work and building models. Some of this happens inside a laboratory, and much of it outside, in a field, a forest, a river or a village. The facts, theories and rules of science all come out of work like this.
Every one of these activities is done safely and carefully. Safety protects you from accidents. Care protects your results: a test done in a hurry, with dirty test tubes or mixed-up labels, gives an answer that is simply wrong.
1.1 Precautions to be taken while performing experimental work in the science laboratory
A science laboratory (lab) is a special room for scientific study and experiments. It has the equipment and chemicals you need, and in it you study, observe, test and use the facts, objects and substances of science. It also has things that can hurt you: flames, hot glass, sharp tools and harmful chemicals. So every lab has safety rules, and most labs put up a notice with safety signs like the ones in Figure 1.1.
Work done carelessly, without these precautions, can cause accidents, and it can also spoil the results of observations, tests and experiments.
The safety rules
Each rule has a reason. Knowing the reason makes the rule easy to remember.
| Rule | Why |
|---|---|
| a.Don’t handle materials carelessly. | Glass breaks, chemicals spill, and a mixed-up bottle can give a wrong result or a dangerous reaction. |
| b.Wear a mask, gloves and goggles when using harmful chemicals. | One splash of acid or alkali in the eye can blind you; the skin and lungs need protecting too. |
| c.Put on an apron or a lab coat. | It takes the splash instead of your skin and your school uniform, and comes off quickly. |
| d.Know where the emergency exit is. | In a fire there is no time to look for it. |
| e.Wash your hands with soap after the work. | Traces of chemicals and microbes stay on your hands and get into your mouth and eyes. |
| f.Don’t eat or drink in the lab. | Food can pick up chemicals from the bench or your hands. |
| g.Never taste chemicals, and don’t sniff them straight from the bottle. | Many lab chemicals are poisonous or burn the nose and throat. |
| h.No playing or teasing. | A push near a flame, or a bottle of acid, is how most school lab accidents happen. |
| i.Follow the method given by your teacher. | It has been worked out to be safe and to give a correct result. |
| j.Take special care with a burner and hot objects. | Hot glass looks exactly like cold glass. |
| k.Don’t put hot equipment straight on the table. | It can burn the table, crack the glass, or burn the next person who touches it. Put it on a heat-proof mat or a wire gauze. |
And when something does go wrong, a spill, a cut or a burn, however small, tell your teacher at once. A small burn is cooled under cool running tap water for about 20 minutes.
Your friend has some chemical on her finger and wants to know what it is. What should she do?
Pick an answer to see why.
A reaction gives off harmful fumes. Where should it be done?
Pick an answer to see why.
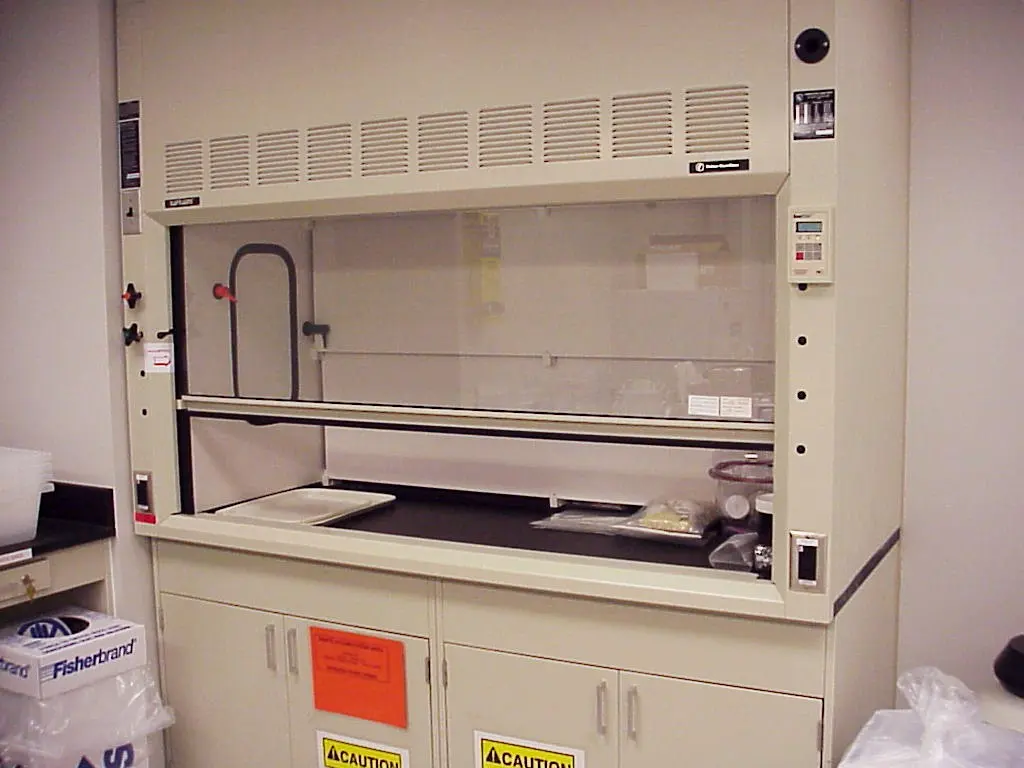
1.2 Experimental work in science
An experiment is a planned piece of work in which we use science process skills, such as observing, investigating, testing and making models, to check a theory or a principle and draw a conclusion. If an experiment doesn’t give the result we wanted, we don’t give up: we find what went wrong and try another way. Experiments can be done in the lab or outside, and the safety rules apply everywhere.
Observation
Observation is the process of experiencing an object, an event or a process very carefully, using our sense organs. We observe by seeing with the eyes, hearing with the ears, smelling with the nose, touching with the skin and tasting with the tongue (but never tasting anything in a lab). Where our senses aren’t enough, we use instruments: a hand lens or a microscope for tiny things, a telescope for distant ones, a thermometer for exact hotness.
Observation isn’t only for the lab. You can observe science at home and around your school, in a zoo, a botanical garden, a medicine factory or a telecom company. A good observation is planned:
- Be clear what you will observe: which object, process or event.
- Decide why: the purpose of the observation.
- Decide how you will record and present what you see (notes, drawings, a table, photos).
- Write a report afterwards.
Which of these is an observation?
Pick an answer to see why.
Rhizopus: PhyloPic (CC0)
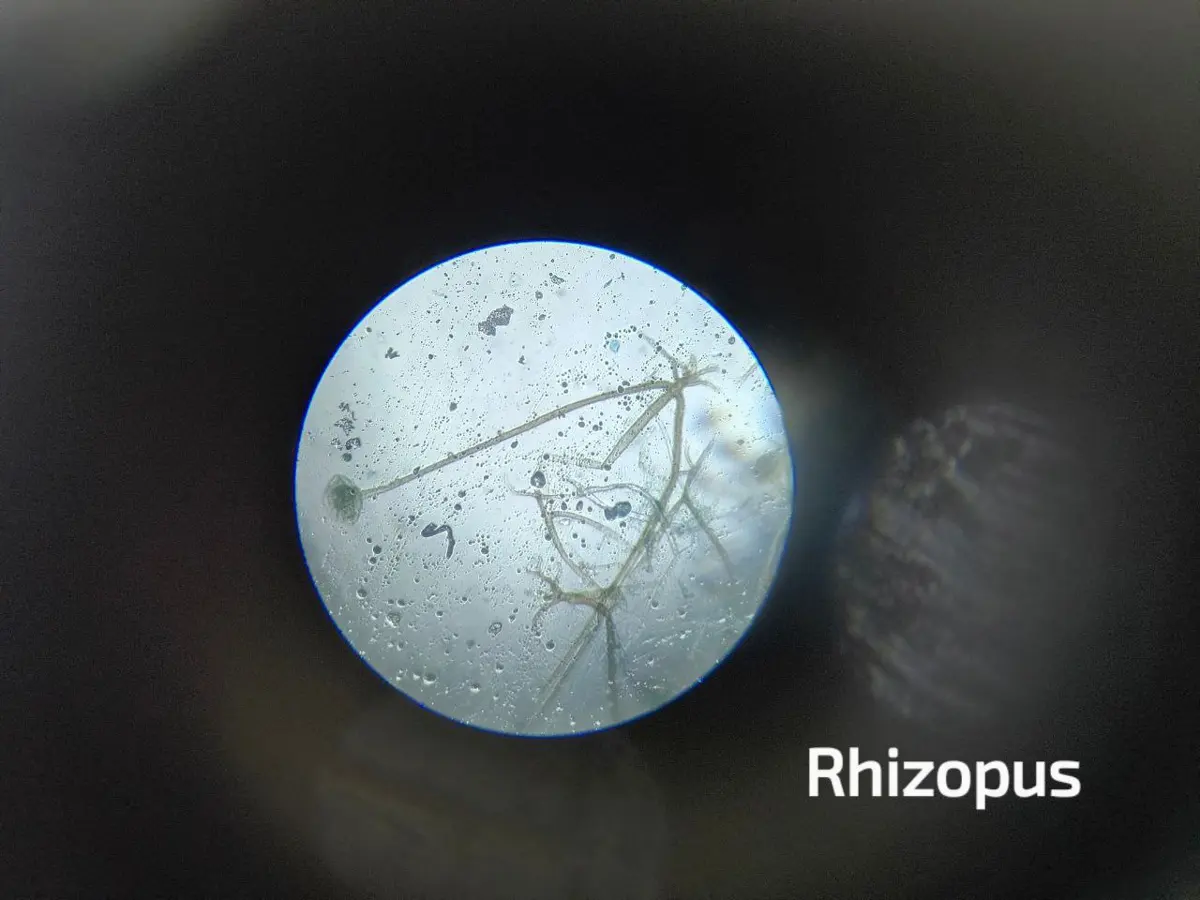
Writing the report
After an observation, we write a report, so that others know exactly what we did and can check it. Reports can be laid out in different ways. The report of Activity 1.1 could look like this:
Amoeba, Paramecium: PhyloPic (CC0); parts placed from Leidy's and Kahl's drawings (public domain)
Euglena: Pearson Scott Foresman, public domain, via Wikimedia Commons
Scientific test
Observation alone can’t tell us everything. Looking at a liquid, you can’t tell whether it is an acid. From what we observe, we make a sensible guess, an inference (an assumption): “Lemon juice tastes sour, so it is probably an acid.” In science, such a guess that can be tested is called a hypothesis.
A test is a scientific procedure, done in or out of the lab, to check whether a hypothesis is true. A test is a kind of experiment. Before you start, be clear about:
- what you are testing, and what your hypothesis is;
- the purpose and the method, with the materials you need;
- how you will present the results.
And, as always, write a report afterwards.
Here is how the report of Activity 1.3 could be written.
A liquid turns red litmus blue and leaves blue litmus blue. What is it?
Pick an answer to see why.
Draw it: Bread mold (Rhizopus), Amoeba, Paramecium, Euglena
1.3 Research work
Every piece of research begins with a question, or with curiosity. Research is an in-depth study to find the answer to a question that hasn’t been answered well enough yet. Every discovery ever made is the result of research like this.
Research needs patience. You follow a careful procedure, and you often fail. When you do, you find the weakness in your method, improve it, and try again.
Phases of research work
Research usually goes through these steps:
- Goal setting: deciding exactly what you want to find out.
- Making a hypothesis: a testable guess at the answer.
- Choosing the method of collecting data.
- Preparing the materials needed.
- Collecting data.
- Analyzing the data: putting it in tables and graphs and seeing what it shows.
- Conclusion: answering the question, and saying whether the hypothesis was right.
How a research question is born
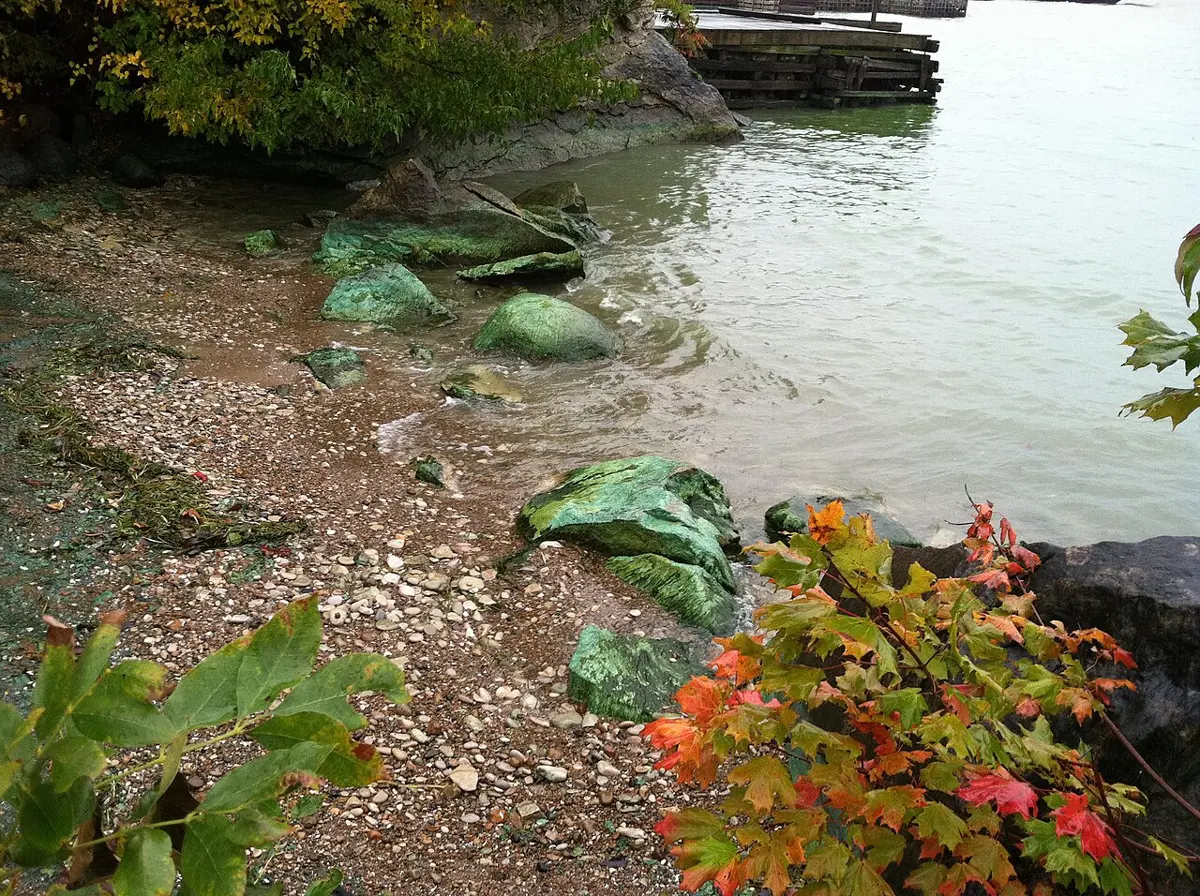
Samprit did exactly what a scientist should: he didn’t believe something just because he was told it. Figure 1.7 shows what Rusa was describing.
Tori: C. A. M. Lindman, Billeder af Nordens Flora (1901), public domain
Fish: DataBase Center for Life Science (DBCLS), CC BY 4.0, via Wikimedia Commons
Spirogyra: Hoffmann-Dennert, Botanischer Bilderatlas (1911), plate 1, public domain
The report of the research could be written like this.
In Activity 1.7, which of these must be kept the same for the two bottles?
Pick an answer to see why.
1.4 Survey
Some questions can’t be answered in a lab at all. How do the families in your ward get rid of their rubbish? How many students in your school walk to school? The answers are with people, so you go and ask them.
A survey is the process of collecting data on a topic or a problem directly from the people or places concerned, and drawing a conclusion from it. The ways of collecting the data are the tools of a survey:
- a questionnaire: a printed list of questions that people answer;
- an interview: asking questions face to face and noting the answers;
- a discussion: talking with a group, such as the mothers’ group of a tole;
- observation: seeing for yourself, for example counting the bins in a street.
The data are analyzed, a conclusion is drawn, and often a solution to the problem is suggested. A survey usually follows these steps:
- Choosing the objective.
- Choosing the method (tool) of collecting data.
- Collecting the data.
- Analyzing the data.
- Drawing a conclusion.
After a survey, a report is written: the title, the purpose of the study, the tools used, the analysis of the data, and finally the conclusions and suggestions.
A sample survey report
Annex 1: Survey questionnaire
- What do you do with the solid waste that comes out of your house?
- a.Give it to a waste collection agency.
- b.Manage some of it at home and give the rest to a waste collection agency.
- c.Manage all of it at home.
- What do you do with biodegradable waste?
- a.Make compost from it.
- b.Throw it on the road or in the river.
- c.Give it to the waste collectors.
- What do you do with non-biodegradable waste?
- a.Use it to make other things.
- b.Collect it and give it to a collection agency.
- c.Burn or bury it.
Four ways of finding out
You want to know whether the farmers of your district use more chemical fertilizer or more organic manure. Which method suits best?
Pick an answer to see why.
Exercise
1. Choose the correct answer
a. What is the process of experiencing an object, event or process carefully through the sense organs?
Pick an answer to see why.
b. Which method is suitable to find out whether the farmers of a region use more chemical or more organic fertilizer?
Pick an answer to see why.
c. Which of these would you stop your friend from doing in the laboratory?
Pick an answer to see why.
d. What should be done when carrying out a chemical reaction that produces fumes?
Pick an answer to see why.
e. Which is the first step of a scientific study?
Pick an answer to see why.
2. Differentiate between
Observation and test
Answer
Research and survey
Answer
3. Give reasons
Precautions should be taken while doing experimental work.
Answer
A report is prepared after an experiment or a survey.
Answer
Observation is the first step in scientific learning.
Answer
4. Answer these questions
What is observation?
Answer
What is the importance of observation in scientific work?
Answer
What is done in scientific work when there is not enough information from observation?
Answer
What precautions should be taken while carrying out a scientific experiment?
Answer
List the things that should and should not be done while working in the laboratory.
Answer
What should we pay attention to while doing research?
Answer
In what conditions is a survey conducted?
Answer
What is meant by survey tools? Give examples.
Answer
Elina wants to study whether green plants need sunlight. Suggest a clear method for her.
Hint
Answer
The science teacher is absent, and Grade 8 has to do a practical class on plant and animal cells. Prepare a worksheet for it.
Answer
Quiz yourself: Scientific Learning, Grades 5–10 →
Practice every question in the book, and keep track of the ones you miss →
A companion to your textbook, not a replacement for it: study from the book your school uses, and where the two differ, follow your teacher. Found a mistake? Please tell us.